- "Colonel, if we don't fire the Lightmass, everyone in Halvo Bay is going to die."
"Lieutenant, listen carefully. That weapon is being saved by smarter men than we for a purpose. If you fire it I will have you tried and shot."
"Fine, I'll see you in court. I suggest you take cover, sir." - —Lt. Baird and Col. Loomis before the bombing of Downtown Halvo Bay.
The Bombing of Downtown Halvo Bay was one of the pivotal battles in the Destruction of Halvo Bay. With Zamil Karn occupying the Museum of Military Glory, Col. Ezra Pound Loomis was desperate to reclaim the museum from Karn and to kill him and his army by ordering a counterattack. Omega-Two, led by Sgt. Marcus Fenix, led the assault but was pinned down by Zamil Karn's army. Kilo Squad, led by Lt. Damon Baird, had spent the previous twenty six hours attempting to prepare and launch the Lightmass Missile in Onyx Point to destroy the museum, Zamil Karn, the Shibboleth, and Karn's army. Kilo Squad first infiltrated downtown Halvo Bay, rescued Omega-Two, and launched the Lightmass Missile. The museum was destroyed, a large majority of Karn's army was killed, but Karn and his Shibboleth escaped and survived. Kilo Squad was then brought into trial for desertion, cowardice, trespassing, theft of advanced military technology, and treason by Col. Ezra Pound Loomis.
Prelude[]
- "I repeat, Omega Squad knocked out the big Seeder. Comms back online. All units move out to the Museum of Military Glory. We'll take back this city block by block."
- —Col. Loomis' orders to take back the museum.
Omega-Two, led by Sgt. Marcus Fenix, was able to infiltrate the downtown area of Halvo Bay and neutralize the large Seeder that was projecting Nemacysts in order to create the Kryllstorm and jam communications. Shortly after the comms were restored, Omega-Two reconnected with Col. Loomis - who advised all surviving Gear squads to move towards the Museum of Military Glory.
Meanwhile, Kilo Squad, led by Lt. Damon Baird and Pvt. Augustus Cole, had just reached the Lightmass Missile silo on Onyx Point and were preparing it for launch until Col. Loomis radioed in. Cadet Sofia Hendrik convinced Lt. Baird to answer and inform Col. Loomis of their plans. When Lt. Baird revealed he and his squad were with the Lightmass Missile on Onyx Point - Lt. Loomis ordered Kilo to stand down and to have Cadet Hendrik arrest Lt. Baird and Pvt. Garron Paduk.
Order of Battle[]
Arrival of Kilo Squad[]
While evacuating the Wharf District in downtown Halvo Bay, Specialist D. Yalovsky was killed by Locust fire while trying to stop a civilian from falling into an Emergence Hole. In the Parade Grounds, Major J. Moreno was killed by cleaver-wielding Locust. At Upper State Street, the Gears began to evacuate civilians to the rooftops of the street’s buildings. Sergeant N. Vietzen died while crossing a makeshift bridge between two buildings which collapsed, falling to his death. Colonel S. Bishop attempted to direct civilians to better cover on the State Street Rooftops but was killed by a Torque Bow. On the First Avenue Rooftops, Lieutenant J. Corbin escorted civilians to higher ground but was killed by Locust fire. At the Museum Square Rooftops, Captain P. Suurs was killed when Serapede snuck up behind him while Private First Class J. Salton, trying to evacuate and protect civilians, was killed on the Overlook by rockets from a Reaver.
After taking out the Seeder, Omega-Two became pinned down two blocks from the Museum of Military Glory - prompting Sgt. Fenix to request assistance and evac. Control responded by having a King Raven to them in an hour, but Sgt. Fenix claimed they didn't have an hour. Pvt. Cole, listening on the radio, convinced Kilo Squad that they could respond and rescue Omega-Two sooner than the Raven. Lt. Baird prepared the Lightmass Missile for launch and led Kilo Squad back to Halvo Bay. After escaping Onyx Point, Kilo Squad managed to hijack a Locust Assault Barque through the bay area and canals and arrived in the Wharf District of Downtown Halvo Bay. Lt. Baird ordered their mission was to not just rescue Omega-Two but to plant the JACK bot beacon named Troy at the Museum of Military Glory in order to coordinate the Lightmass Missile and destroy the Museum and Karn. However, Zamil Karn was aware of Kilo Squad's plans and guarded the Wharf District with Troika turrets and a large number of Locust Drones in coordinated defense positions. Kilo Squad then fought through the Yacht Club Resort & Marina. Kilo was able to take down their defenses and eliminate the Locust Drones and Boomers stationed there. This coordinated defense attack convinced Lt. Baird that the Locust were not mindless "monsters" as he was led to believe by the COG, but rather methodical, and that Zamil Karn's intelligence could match that of a high ranking general.
Siege on State Street[]
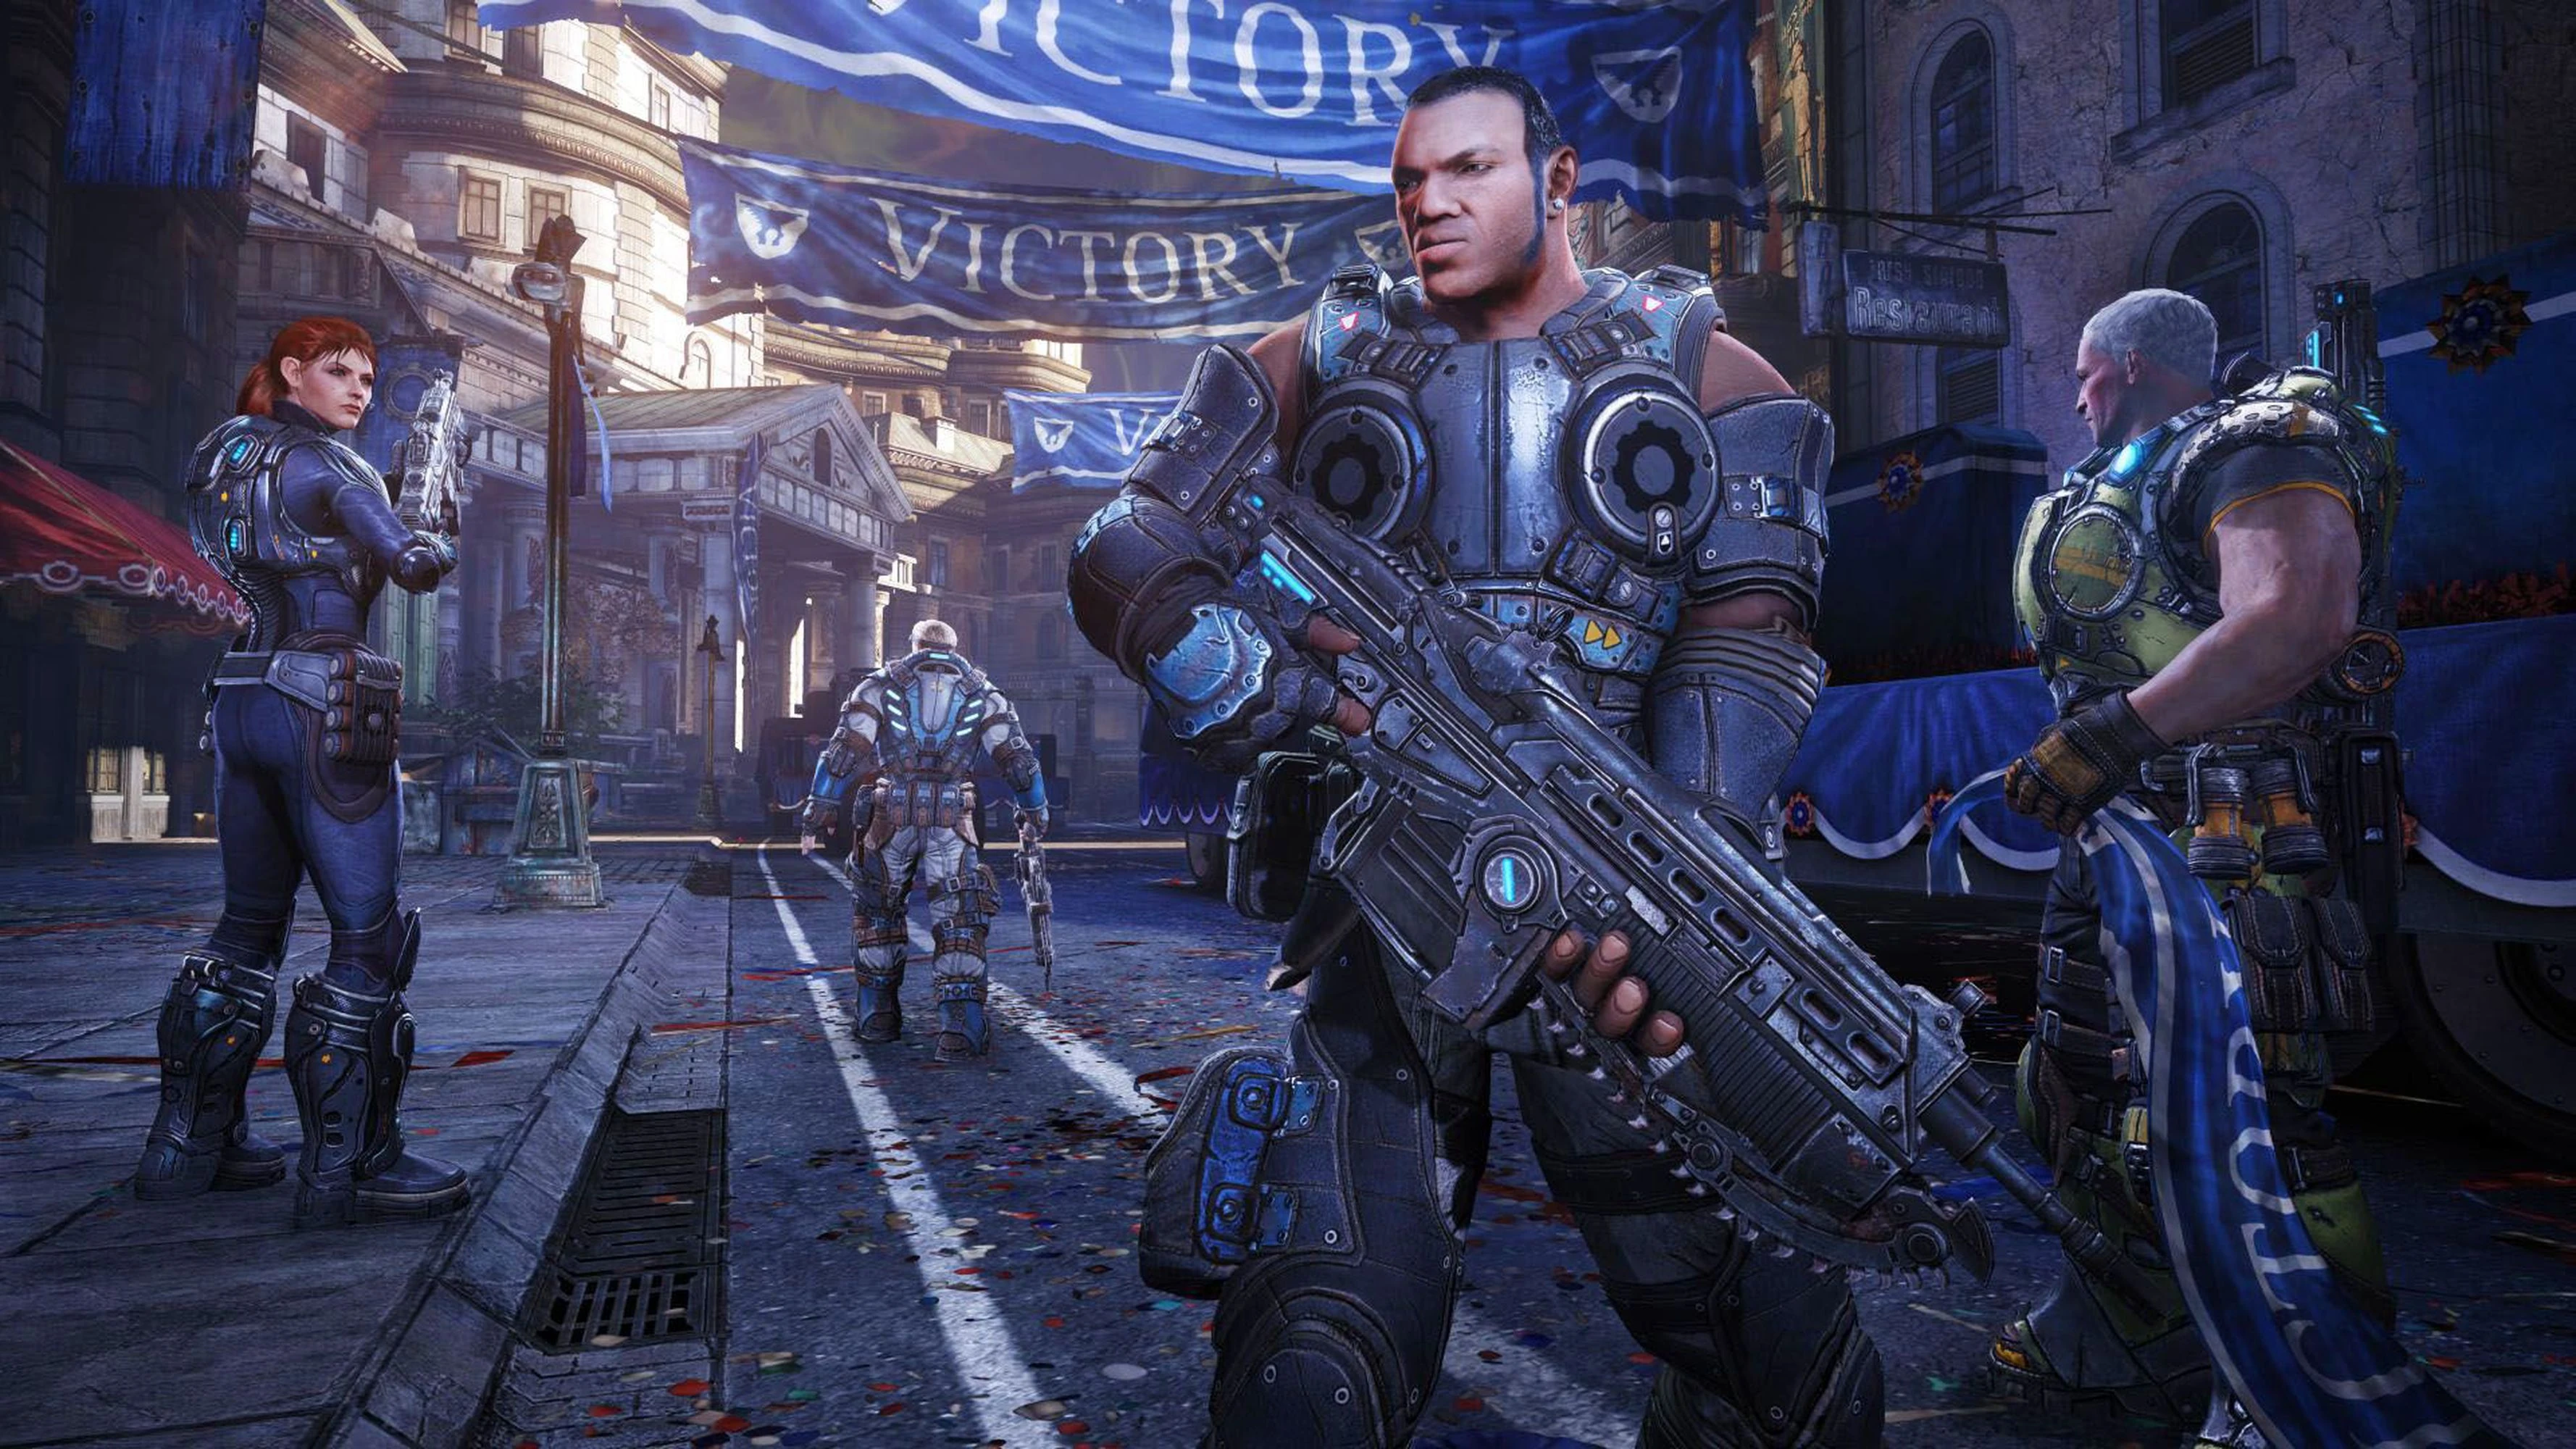
Kilo Squad then arrived at the Parade Grounds on State Street where six weeks earlier, Halvo Bay was celebrating the defeat of the Union of Independent Republics and the victory of the Coalition of Ordered Governments in the Pendulum Wars. Lt. Baird was concerned about how this display made Pvt. Paduk feel, concerning he was a former UIR soldier. Pvt. Paduk assured Lt. Baird it was fine and that they could go back to killing each other once the war with the Locust was over.
Kilo Squad on State Street.
Reaching a blockade in the road, Lt. Baird attempted to life the door when a giant Serapede slithered through the crack made by Lt. Baird and attacked Kilo Squad. Kilo Squad was able to kill it, but was then met by a group of Lambent Wretches climbing the barricade. During the fight, they were also met by a Corpser that emerged to attack. Kilo Squad was able to kill the creatures and pass through the barricade. Down the street, the road was blocked by a traffic pile-up.
On the other side of the pile-up was an oncoming patrol of Drones, Therons, Boomers, Kantuses, and Wretches. Lt. Baird was able to spot the patrol and ordered Kilo Squad to plant traps along the road to kill the Locust. Lt. Baird also ordered that Pvt. Cole and Cdt. Hendrik take one side of the street while he and Pvt. Paduk took the other to eliminate the stragglers. The patrol then passed through the pile-up and many were killed in the traps laid by Kilo Squad. The survivors were then picked off by the opening fire from Kilo Squad on either sides of the street.
Pvt. Paduk then advised they avoid future patrols while Cdt. Hendrik suggested entering the nearby hotel, getting on top of the roof, and traverse the rooftops the rest of the way. Lt. Baird agreed and had Troy rip open the doors to enter the hotel. However, additional Locust units of exceptional ferocity arrived and attacked Kilo Squad. Several Ragers, Maulers, and Wretches attempted to destroy the Troy bot and Kilo Squad, but Kilo was able to defeat the Locust and enter the hotel.
Battle on the Rooftops[]
Upon entering the hotel, Lt. Baird noted the downtown area seemed deserted even though they were never properly evacuated. However, Kilo Squad discovered that the civilians never left and instead tried to reach the rooftops to escape the Locust below. The amount of dead civilians made Pvt. Cole realize that this wasn't a war but an extermination. Upon reaching the rooftops, Kilo Squad found themselves low on weapons and ammunition - with only Longshot Sniper Rifles and Boltok Pistols available.
Kilo Squad was then met by Locust Drones. As they fought them, Locust Grapplers climbed the sides of the buildings to enter battle on the rooftops. An aerial attack of Shriekers then arrived in battle. Kilo Squad, only using their Longshot rifles and Boltok pistols, were barely able to repel the attack. Pvt. Paduk became convinced that they were not being attacked but rather hunted under the order of Zamil Karn. Crossing over to another rooftop, Kilo Squad was attacked by a patrol of Reavers, Shriekers, and Theron Guards. Kilo Squad was once again able to defend themselves and crossed over to the rooftops on First Avenue.
On the First Avenue Rooftops, Kilo Squad still retained their Longshot rifles and Boltok pistols, but had virtually no ammunition left. Kilo Squad, using melee weapons, fought the Drones until they could acquire more weapons and ammunition. At the water tower on the rooftops, Kilo was attacked by a squad of Snipers and Shriekers. After defeating them, Kilo climbed atop the water tower and used Mortars and One-Shots to kill the remaining Drones in the area. Kilo Squad then reached the Museum Square on the overlooking rooftops.
Launching the Lightmass Missile[]
Omega-Two was still under heavy fire and had wounded. Sgt. Fenix radioed in that they couldn't hold their position much longer and needed evac. Control advised that evac was on the way, but Sgt. Fenix suggested Col. Loomis' Raven. Control replied that Col. Loomis was preparing to lead the assault on the Museum. Kilo Squad then arrived on the rooftops overlooking the Museum Square and cleared the area of the Locust Drones, Mortars, and Shriekers before a Reaver squadron could detect them and destroy the building.
After clearing the rooftop, Lt. Baird ordered Troy to cloak and go down the street to the front of the Museum of Military Glory and set off the beacon. Before launching the Lightmass Missile, Col. Loomis radioed in to locate Cdt. Hendrik's position. Cdt. Hendrik admitted to being near the Museum and aiding Omega-Two, defying orders to stay on Onyx Point. Lt. Baird then argued with Col. Loomis about how the Lightmass Missile would save people in Halvo Bay from Karn and his army. Despite being threatened by Col. Loomis to be tried and shot - Lt. Baird, convinced by Cdt. Hendrik, Pvt. Cole, and Pvt. Paduk, launched the Lightmass Missile.
The Lightmass Missile was then launched from Onyx Point and made a direct hit on the Museum of Military Glory - turning it into a giant crater and killing thousands of Locust troops - and seemingly killing Zamil Karn and the Shibboleth. Sgt. Fenix then radioed in that, despite being affected by the blast, he and Omega-Two were safe. However, Kilo Squad was then attacked by a surviving squad of Locust troops. Despite the heavy debris cloud obscuring their vision - Kilo Squad was able to defend themselves from the Drones, Maulers, Therons, Kantuses, Tickers, Shriekers, and Reavers.
Aftermath[]
- "I told you to stay on that island, Lieutenant."
- —Col. Loomis to Lt. Baird after punching him.
As the debris cleared, Col. Loomis arrived with two King Ravens and the Onyx Guard. Lt. Baird approached Col. Loomis and mockingly saluted him, prompting Col. Loomis to punch Lt. Baird in the face, knocking him down. Lt. Loomis then had Lt. Baird, Cdt. Hendrik, Pvt. Cole, and Pvt. Paduk handcuffed, arrested, and brought aboard the King Ravens. The Ravens then took Kilo Squad to the Halvo Bay Courthouse to await court-martial and possible execution.